Documentation Index
Fetch the complete documentation index at: https://docs.coffeerms.com/llms.txt
Use this file to discover all available pages before exploring further.
Position Allocation Management Workflow
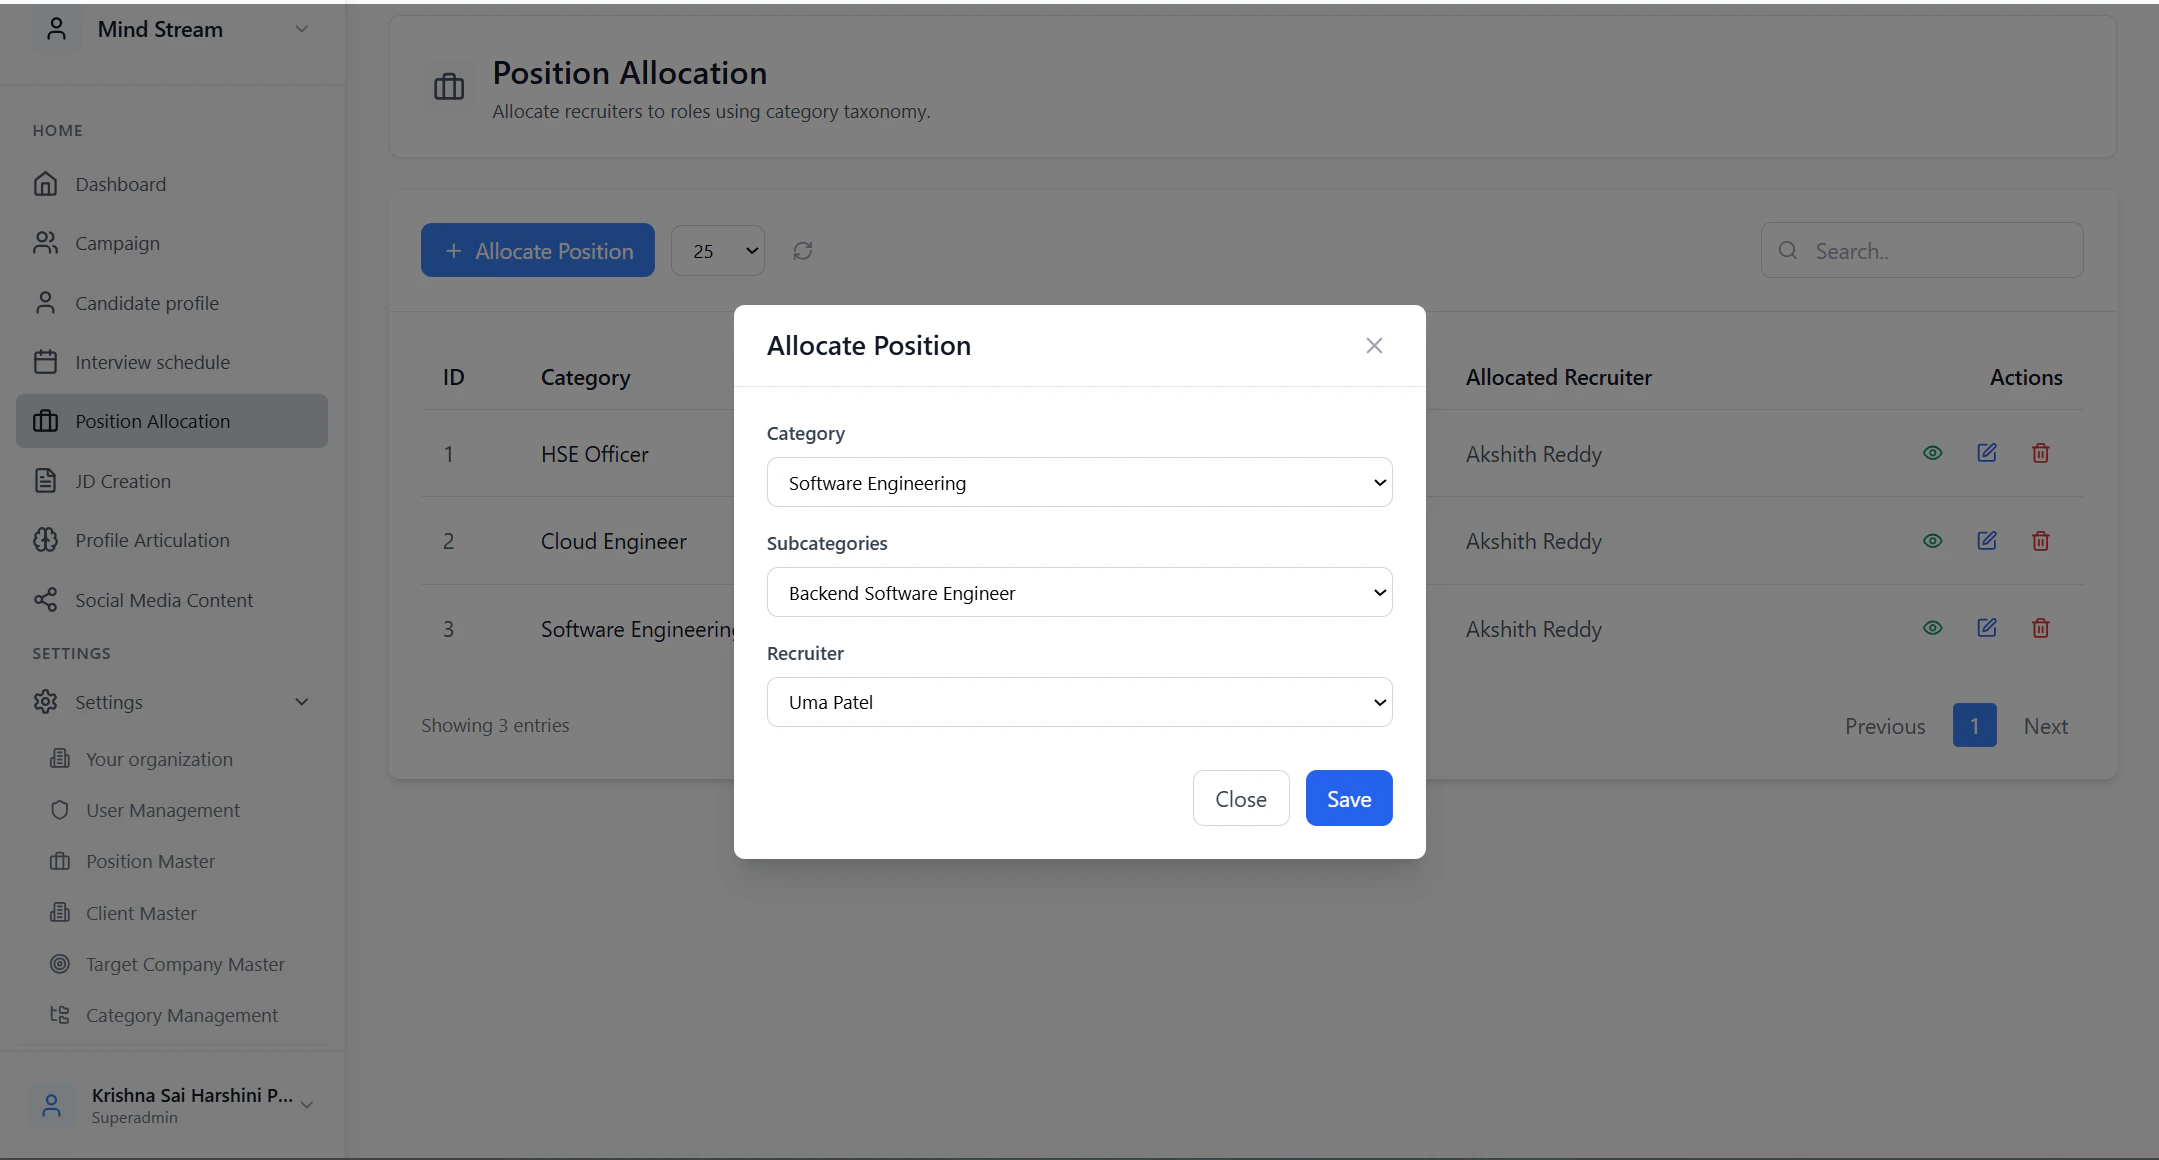
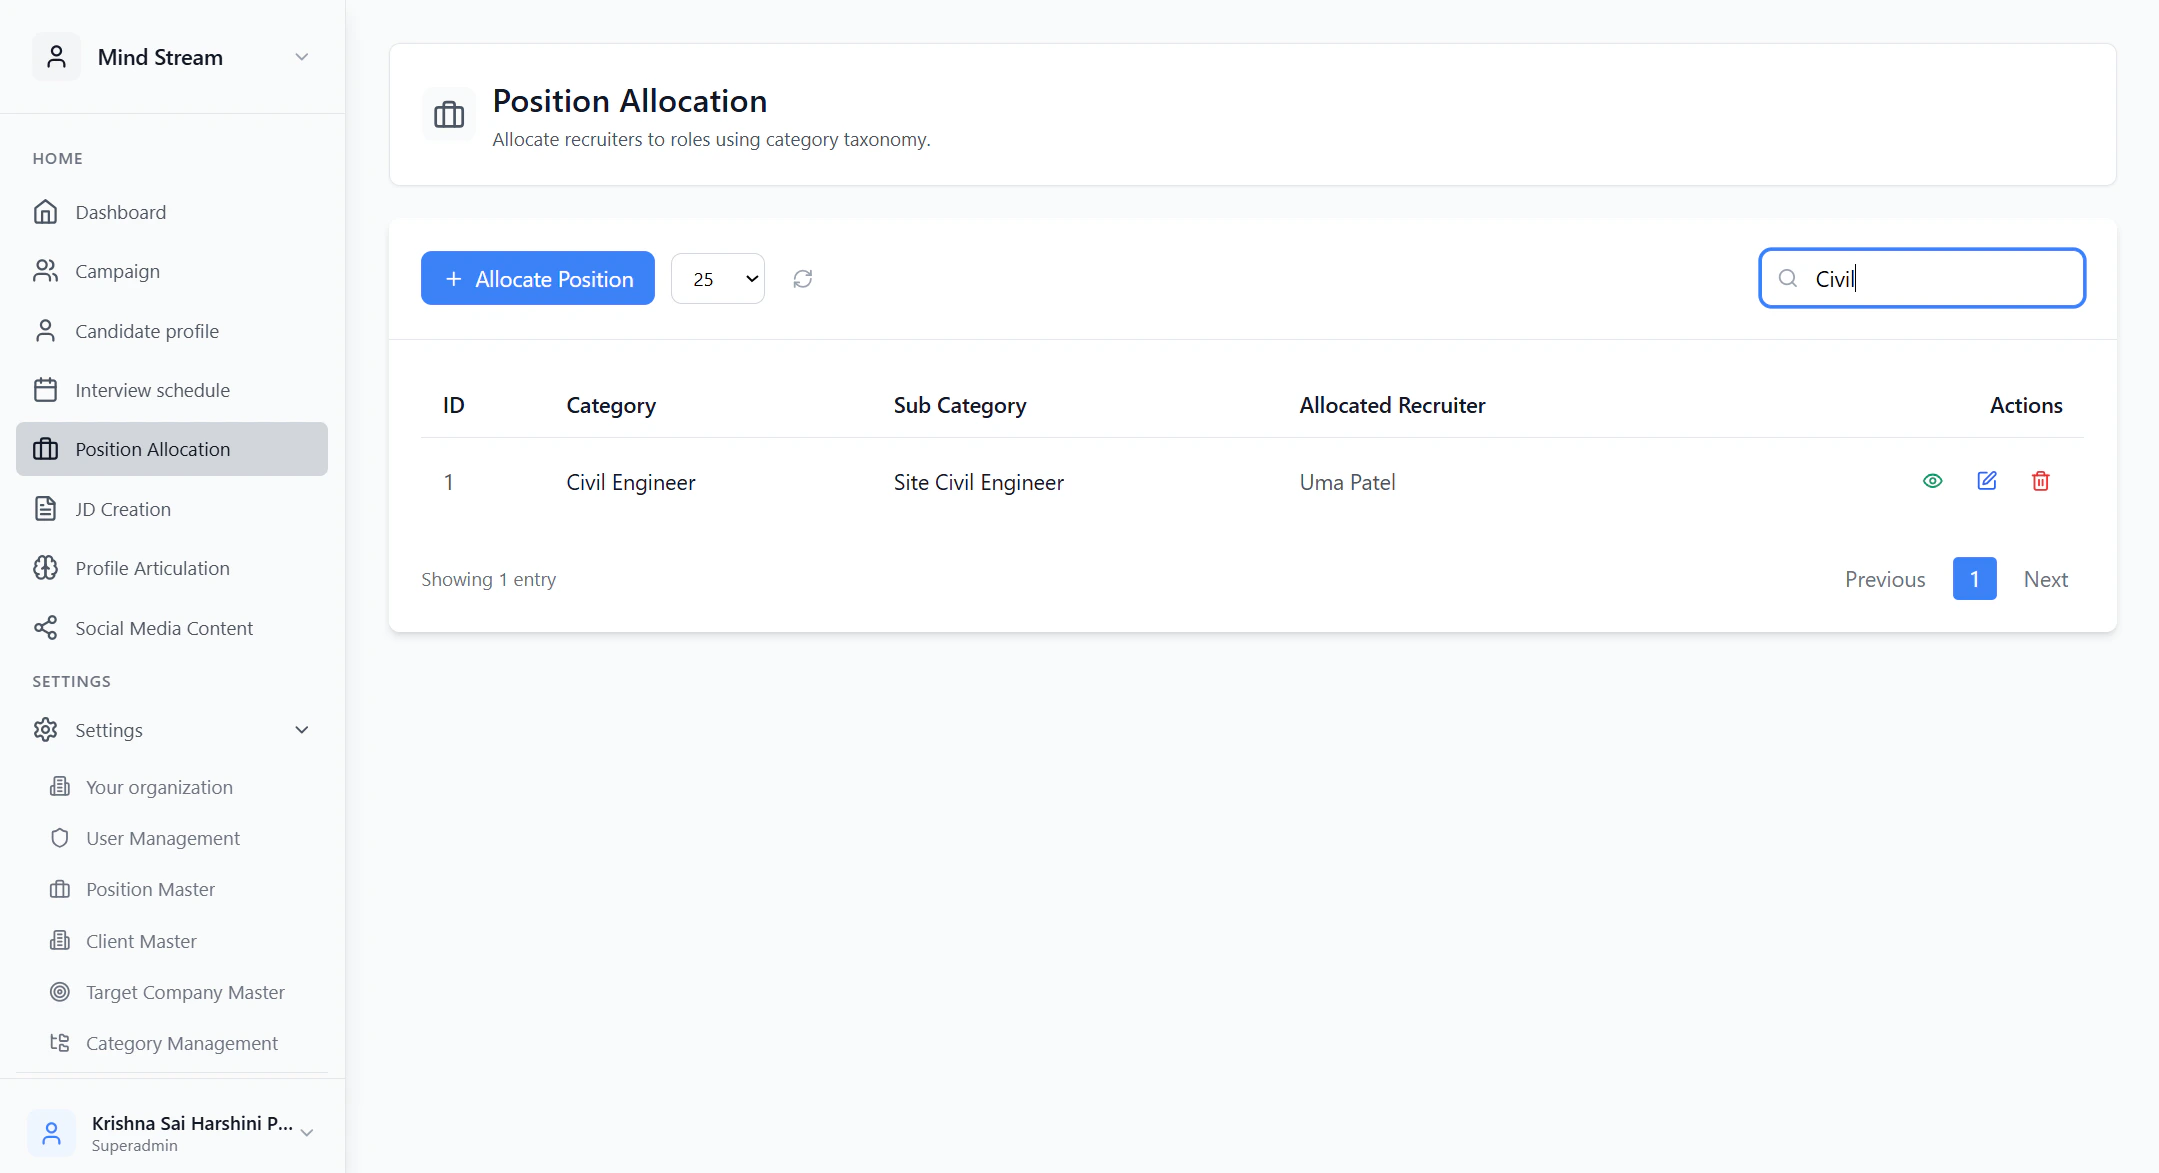
This workflow explains how admins define which recruiter owns which job roles inside the RMS.Add Position Allocation
- Click Add Allocation
- Select:
- Category
- Sub-Category
- Recruiter
- Click Save
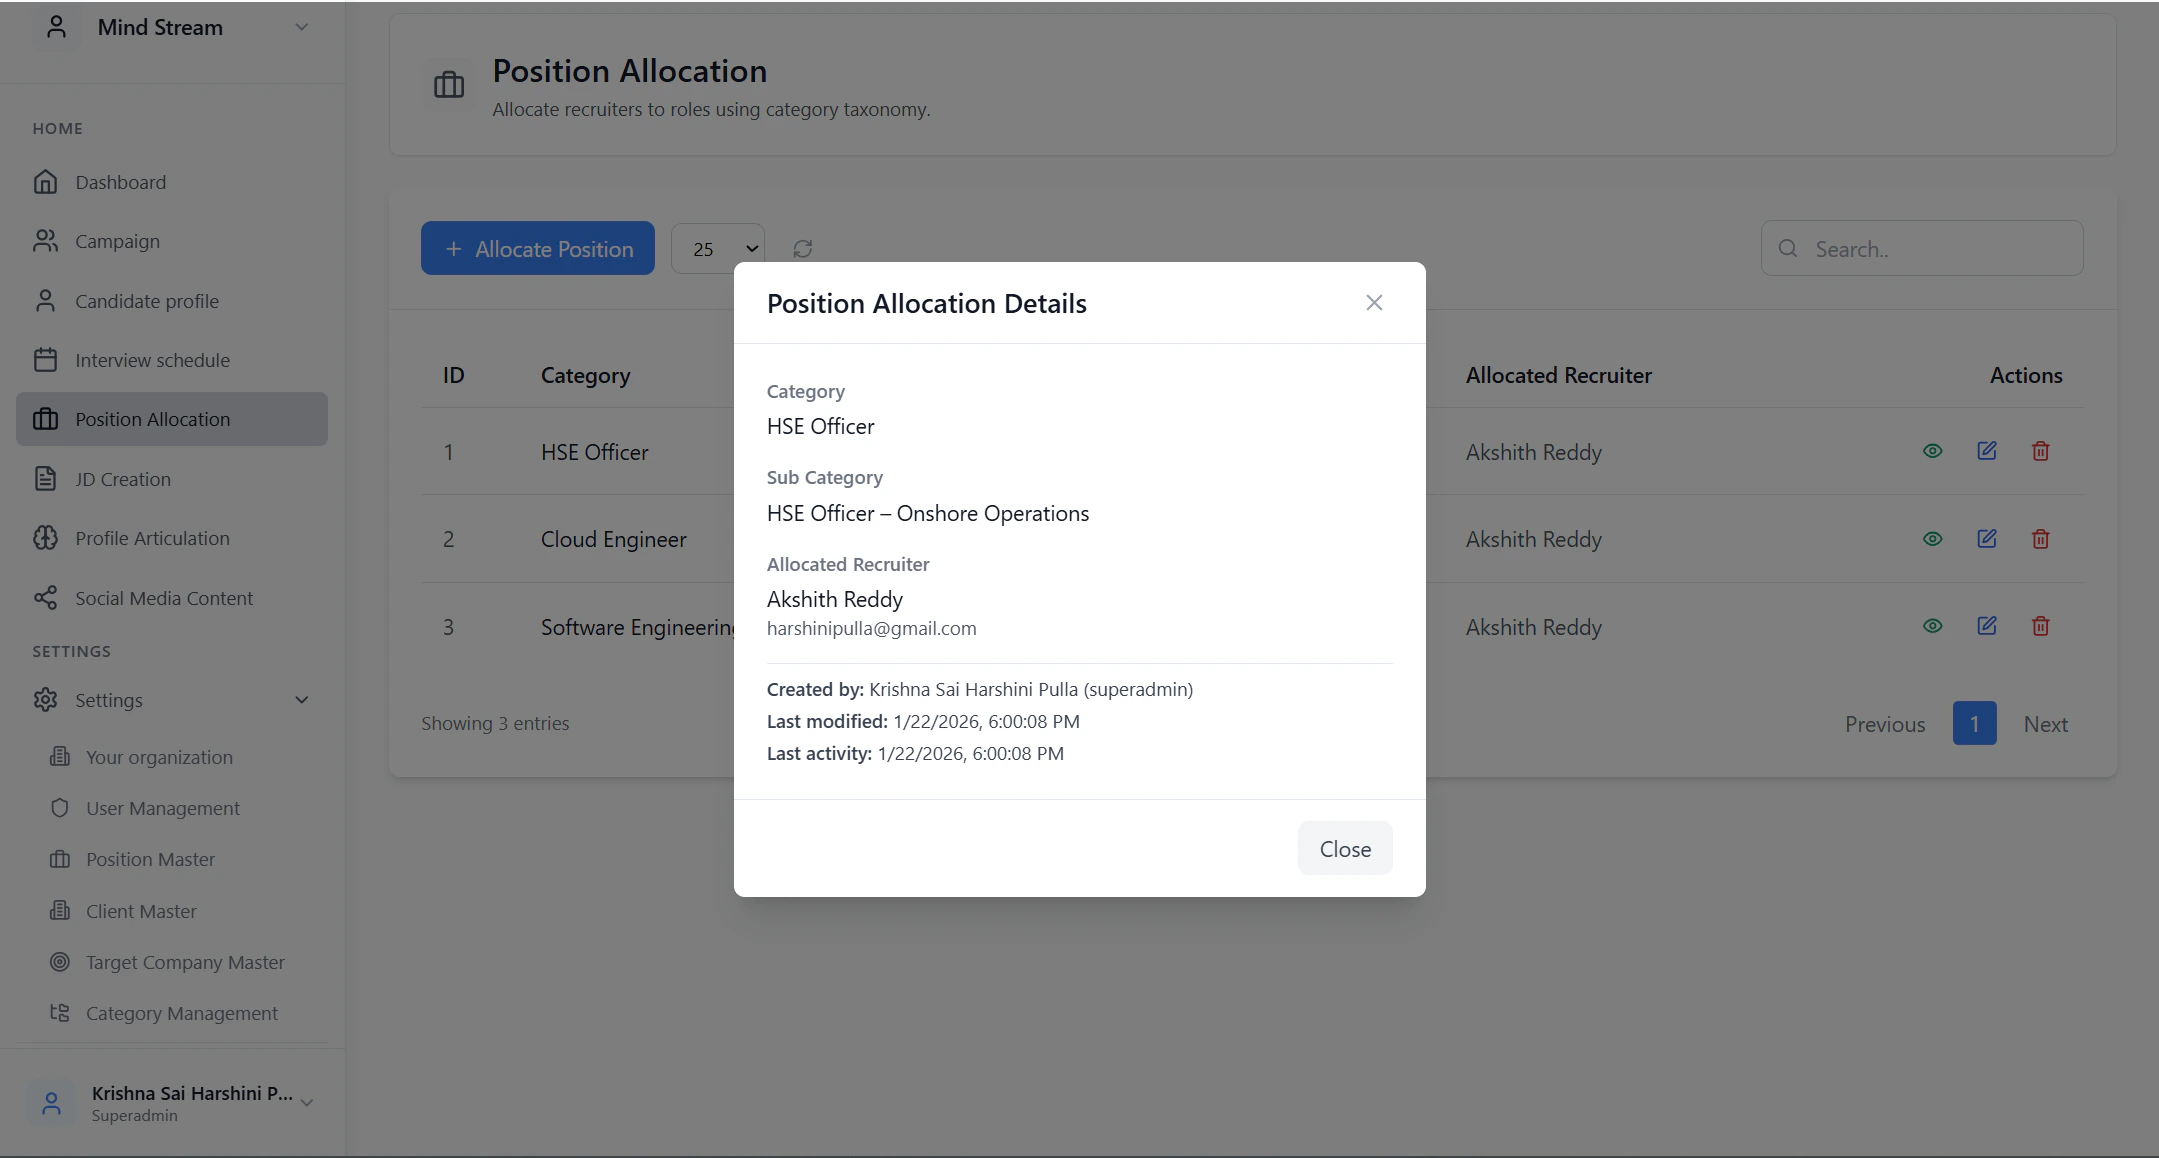
View Allocation
- Click View
- See allocation details:
- Category & sub-category
- Assigned recruiter
- Status
- Created and updated timestamps
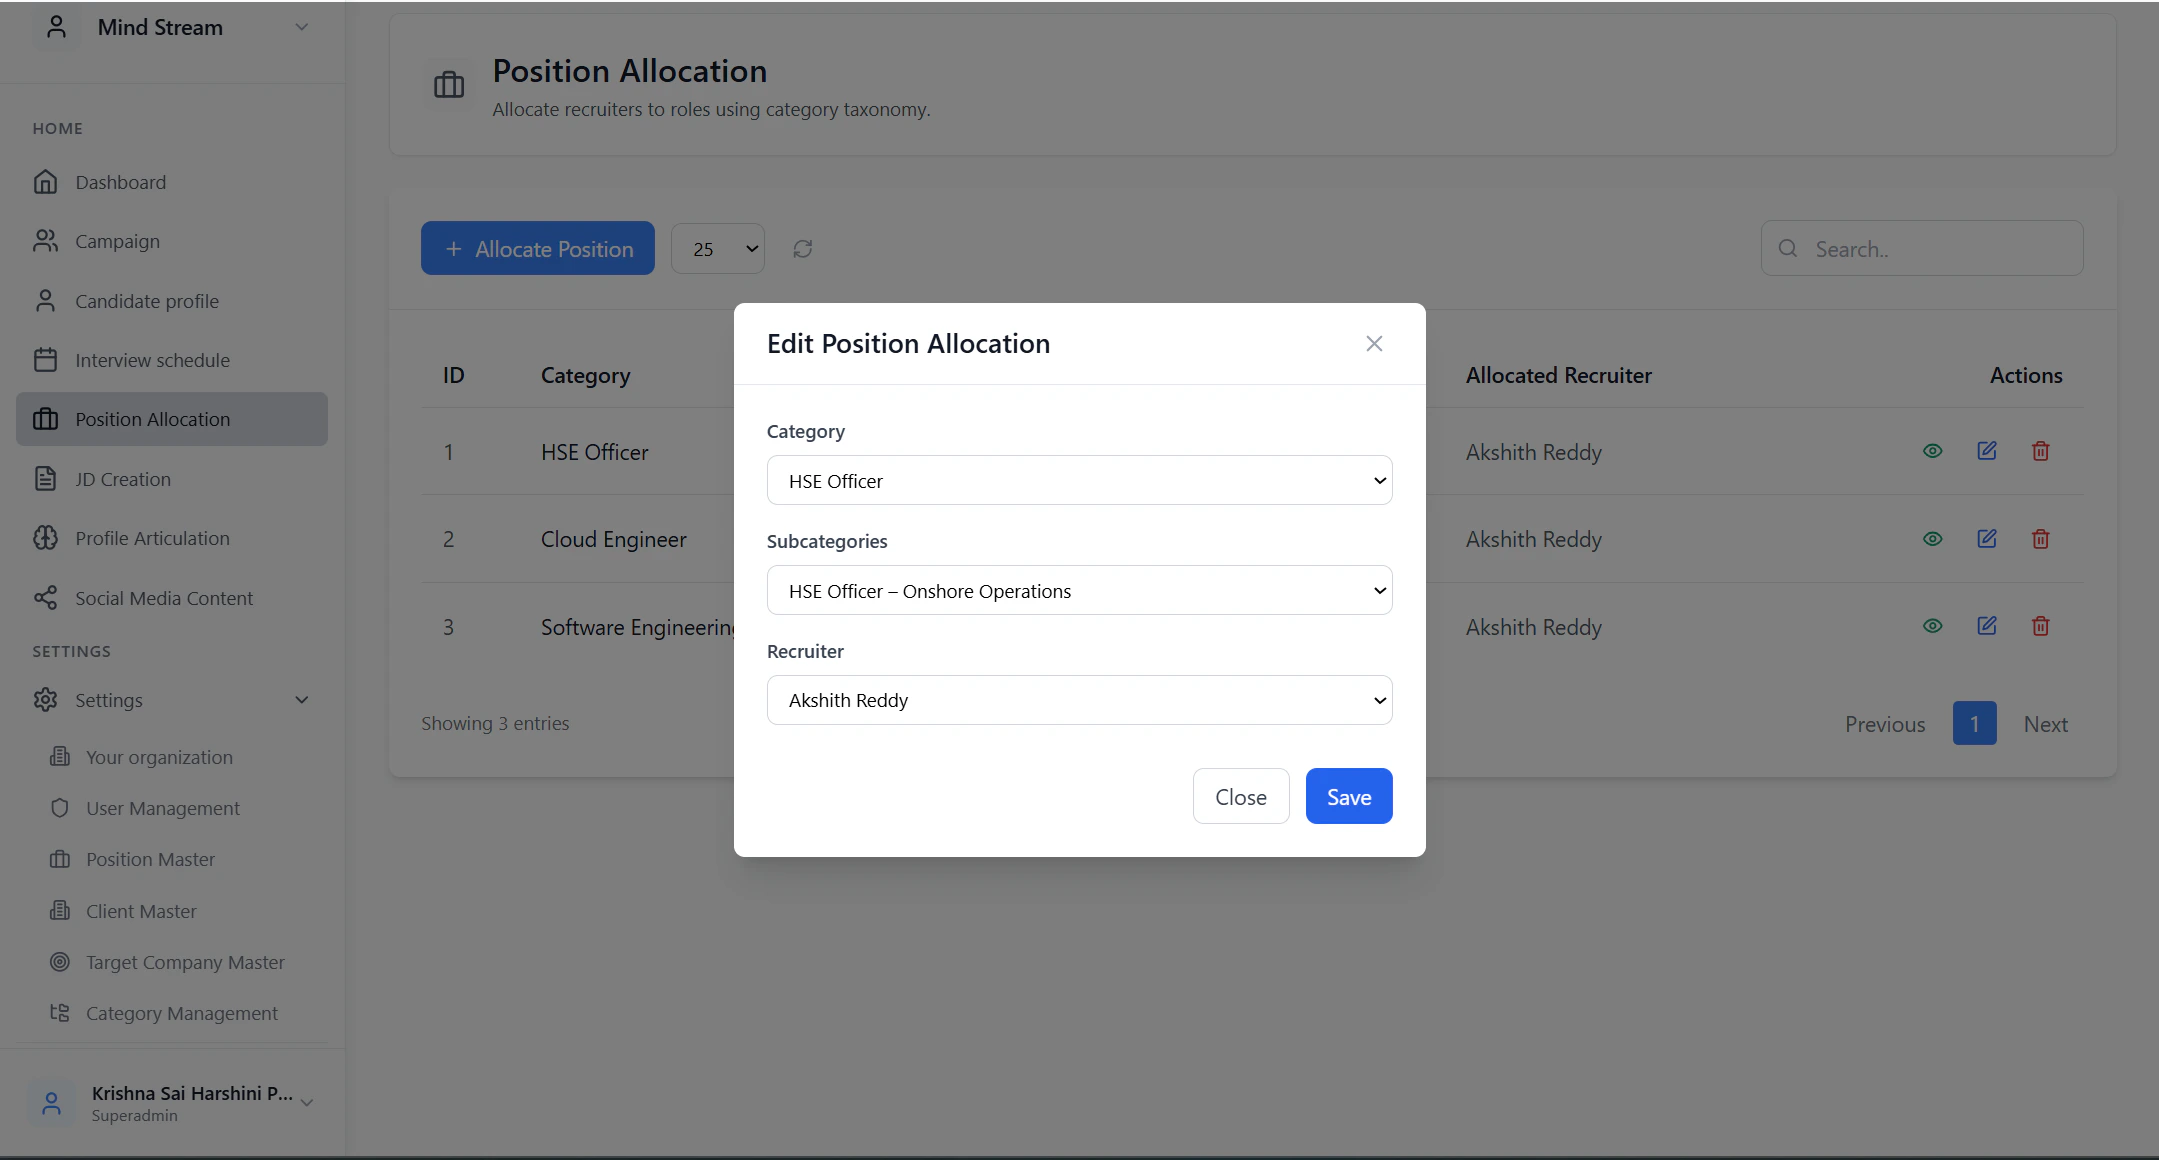
Edit Allocation
- Click Edit next to an allocation
- Update:
- Recruiter
- Category or sub-category
- Save changes
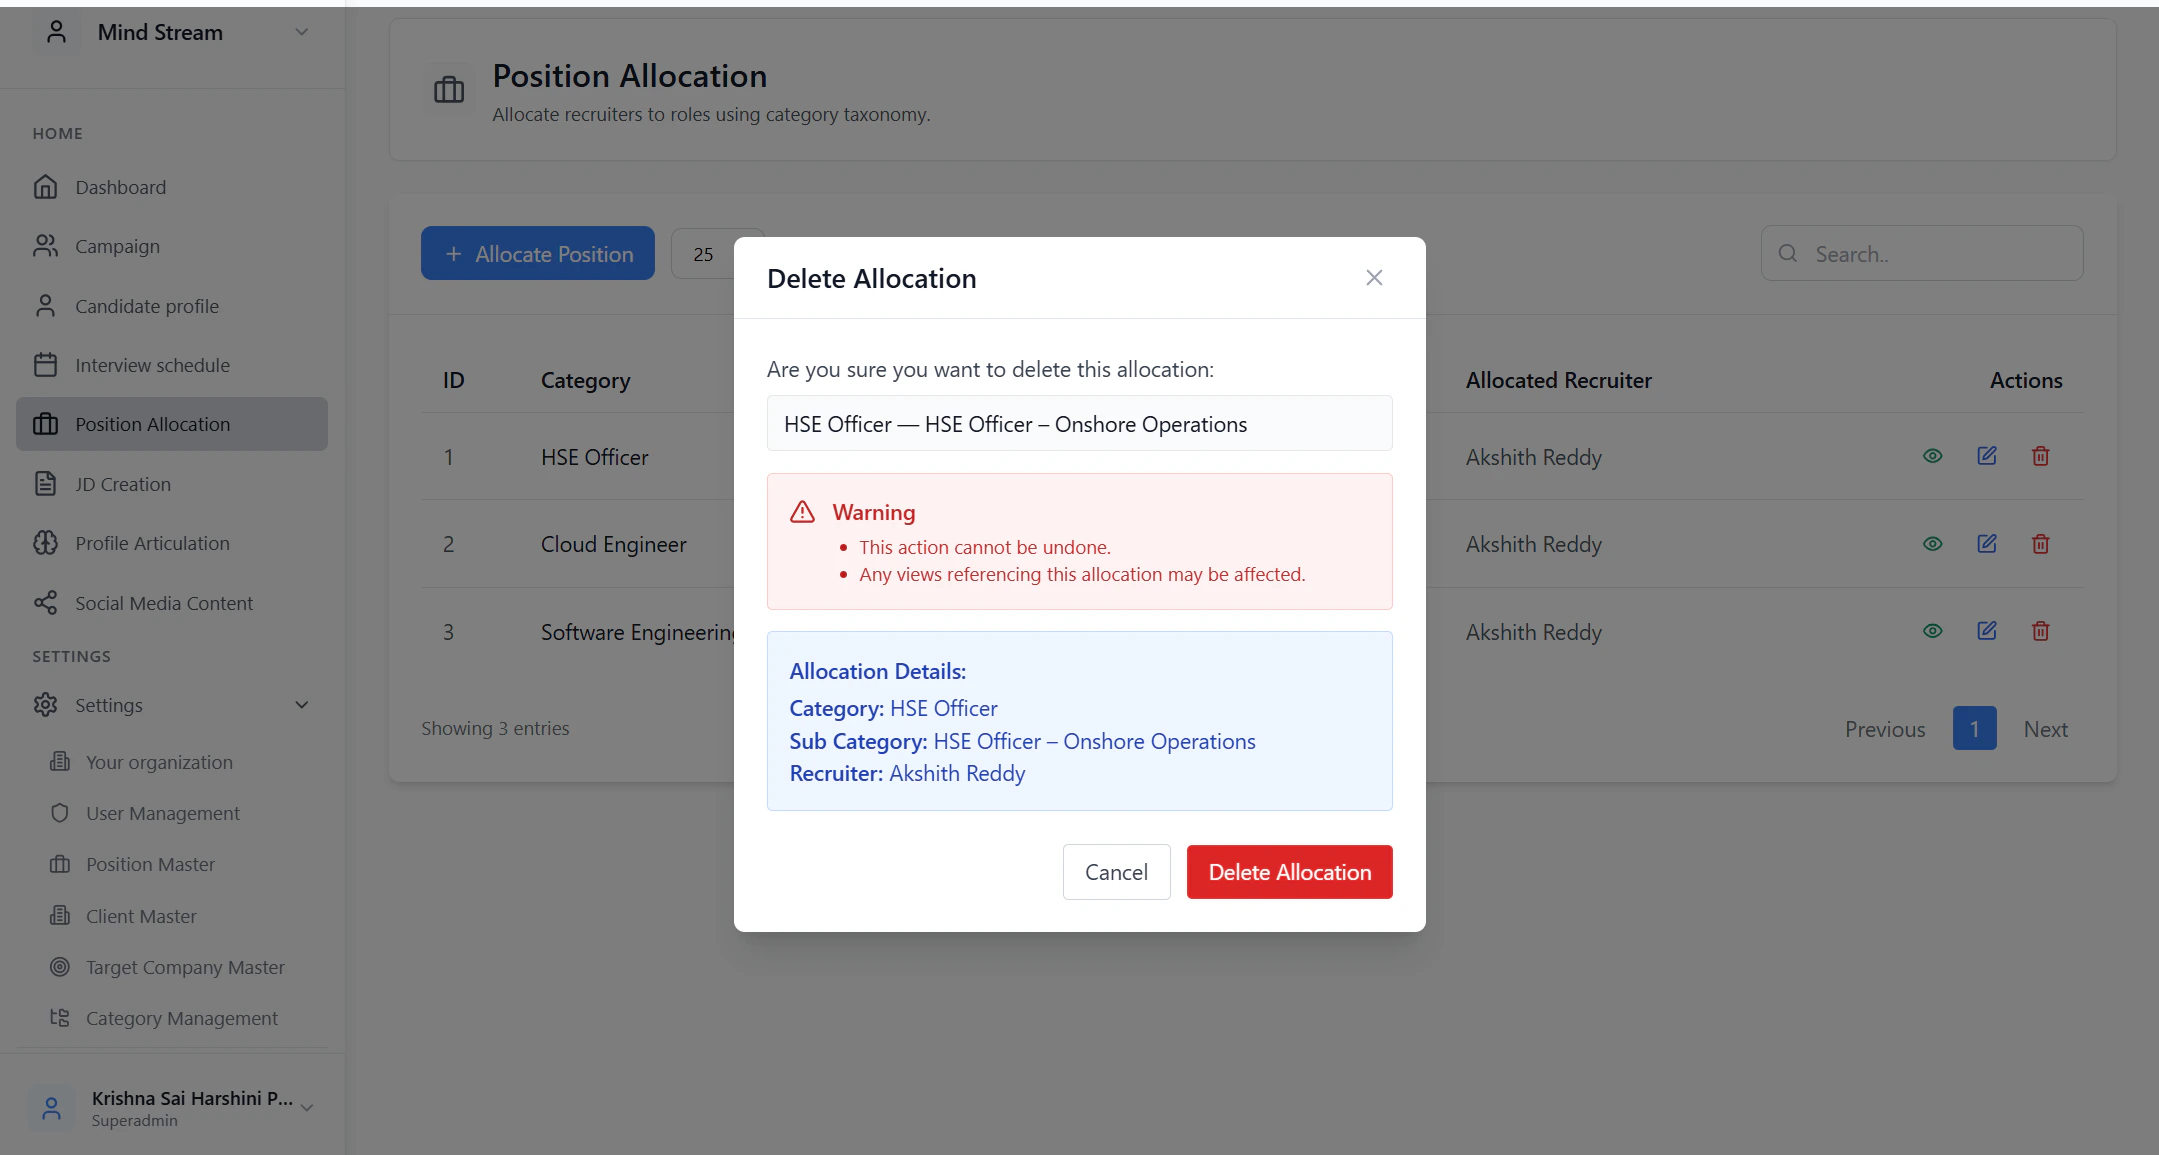
Delete Allocation
- Click Delete
- Confirm the action
- Allocation is soft-deleted
- Recruiter immediately loses access to those job roles
- Jobs and candidates are no longer visible to that recruiter
Recruiter Experience
- Recruiter logs in
- System fetches My Allocations
- Recruiter can only access:
- Jobs
- Campaigns
- Candidates
Search & Filter
Admins and managers can filter allocations by:- Recruiter name
- Category
- Sub-category
Where It Is Used
Position Allocation directly controls:- Recruiter job listing visibility
- Campaign access permissions
- Candidate tracker filtering
- Recruiter dashboards
Summary
Position Allocation Management ensures clear ownership of job roles across recruiters.It prevents overlap, restricts access correctly, and helps scale recruitment teams with structured control and accountability.